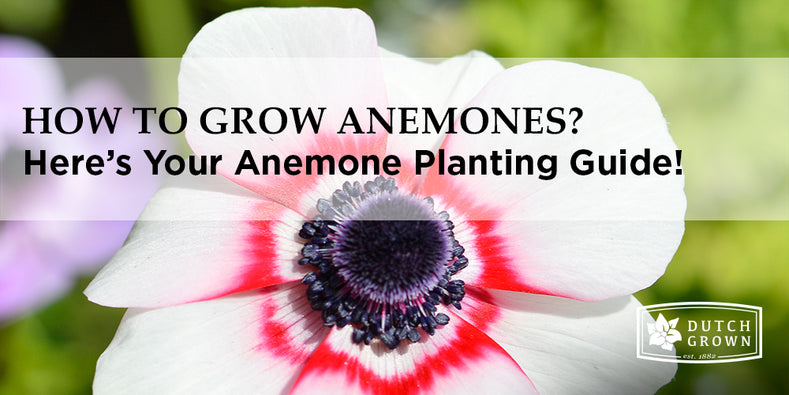
HOW TO GROW ANEMONES?
ANEMONE PLANTING GUIDE
Ideal for mass planting in borders and the most “flowery” looking of all flower bulbs, anemones are spring’s happy little visitors. They come in two varieties that are each suitable for a different climate, so gardeners all over America can enjoy these deer resistant charmers.
QUICK GUIDE
-
WHEN
Plant in fall in zone 8-10
Plant in early spring in zone 3-7
Blooms in spring
-
WHERE
Blanda: hardiness zone 5-8
De Caen & st Brigid: hardiness zone 7-10
Partial shade only
Well-draining soil
-
WATER
Once after planting
Moderately in spring
-
WIDTH & DEPTH
2-3” apart
2-3” deep

Arrival
When your DutchGrown anemone arrive and you can’t plant them immediately, it’s important to store them correctly: unpack them right away and put them in a dry place with plenty of air circulation, where the temperature is between 40 and 70 degrees Fahrenheit.
Garden & Container Planting
When unpacking anemone bulbs, you’ll find they are quite hard and shriveled-looking. If you soak them for 2-4 hours in a bowl of lukewarm water before planting, they will develop much better roots.
If you live in zones 4-8, anemones should be planted in fall, once the first chill is in the air. If you live in hardiness zones 3-7, it’s best to plant anemones in early spring, as they’re not great fans of the cold.
Flower bulbs are tough cookies that are easy to grow, but one thing they hate is getting their feet wet: a bulb that is ‘bathing’ in water will rot in no time. So avoid soggy soil at all cost – this means places where you can still see puddles 5-6 hours after a rainstorm. Another thing you can do is to upgrade potentially soggy soil by adding organic material such as peat, bark or manure. When it comes to planting bulbs in containers, the mantra is exactly the same: drainage-drainage-drainage. Get a pot or box with at least some drainage holes at the bottom.
Anemone need the sun to grow, but not too much of it. This means they will do very well in places with dappled shade or scattered sunlight.
The standard method for calculating the ideal planting depth is to dig a hole three times as deep as the bulb is high, and place the bulb in it. Anemones don’t have the classic “onion” shape most bulbs do, so you can place them whichever way and they will still grow their shoots towards the surface. Since anemone grow less well when they have to fight for nutrients with their fellow bulbs, it’s best to plant them 2-3” apart.
To help the bulbs settle and grow roots quickly, it’s important to water them well after planting, but after that you won’t have to water them again. Now all you have to do is wait patiently for winter to do its magic underground, and spring to surprise you with the rewards of your work.
During blooming season you generally don’t have to water your anemone, but you can water them when there hasn’t been any rain for 3-5 days.
After anemone have finished blooming, don’t cut the foliage straight away: through photosynthesis the leaves will create nutrients that the bulb will be needing for its next growing season. After a few weeks the foliage will automatically yellow and die back, and then you can remove it. Now the bulb will be going dormant, and won’t need any watering until next spring.
How to plant anemones in your garden:
- Wait until the soil is 60 degrees Fahrenheit or colder. In the North this will be in September or October, in the South in October or November.
- Pick a spot in your garden that has well-draining soil and gets full sun or partial shade.
- Plant the anemone bulbs about 2-3” deep and 2-3” apart, placing them in the ground with their pointy ends up.
- Water well once and wait for spring
- After anemones have bloomed don’t cut off the foliage. Leave it until it’s completely withered and yellow, then remove.
How to plant anemones in containers:
- Wait until it’s cold outside, with a soil temperature of 60 degrees Fahrenheit or lower. In the North this will be in September or October, in the South in October or November.
- Pick a spot in your garden that gets full sun or partial shade.
- Find a well-draining container and fill it with loose soil, making sure water won’t gather and stay at the bottom.
- Plant the anemone bulbs about 2-3” deep and 2-3” apart, placing them in the soil with their pointy ends up. Since containers often have limited space, you can also experiment with placing the bulbs closer together, but make sure they never touch.
- Water well once and wait for spring, or, when you live in hardiness zone 3-7, water well and bring the containers indoors, letting them spend the winter in a cool spot like an unheated garage or basement.
- After anemones have bloomed don’t cut off the foliage. Leave it until it’s completely withered and yellow, then remove.


